Lync VMs and Virtual Audio Cable
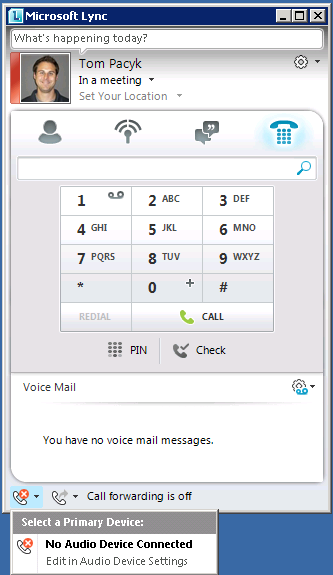
The need to have dedicated PCs each with an audio device for testing Lync audio can sometimes be a challenge, especially in lab environments where all of the clients are virtualized. If you use the console or remote desktop on a virtual machine running Lync you’ll see the warning that no audio device is connected:
And if you check your Audio Device settings, Lync will tell you that no device has been found. This prevents you from testing any audio functionality, which can be handy in a lab to validate Edge server or gateway integration scenarios.
A solution here is to leverage a tool called Virtual Audio Cable, which offers a free trial available here: http://www.ntonyx.com/vac_demo.htm
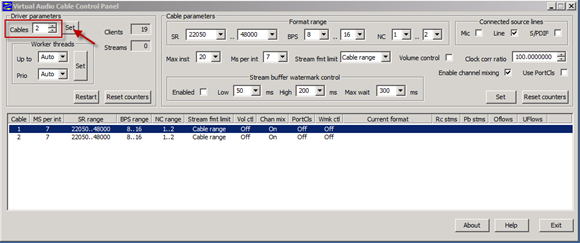
To get started, unzip the package and run the installation on a VM. After the software is installed you can create the virtual audio devices. Navigate to the Virtual Audio Cable folder within the Start Menu. Right-click on Control Panel and select “Run As Administrator” to open the configuration utility.
Enter 2 for cables and press Set. Then exit the application.
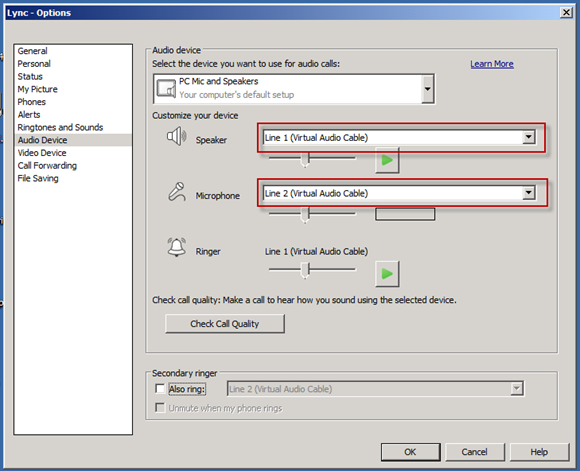
Now open Lync again and check the Audio Device settings. You can select Virtual Audio Cable Line 1 for the speaker, and Line 2 for the microphone.
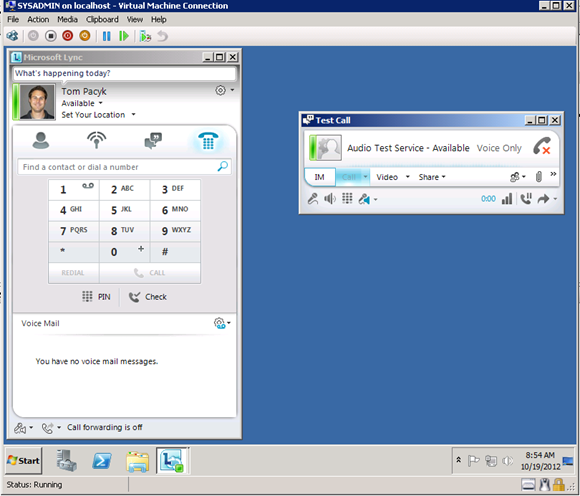
At this point you can now make and receive phone calls within the VM (although you can’t hear anything!)
I should note that this has to be done from the console session of a Hyper-V or VMware VM. Connections via Remote Desktop will not work the same way. And to be perfectly clear, this has absolutely nothing to do with the VDI functionality in Lync 2010 or 2013. It is purely for lab and testing purposes.


