Your OCS Front-End and DPM 2010 Part 1: Backup
The goal of this series is to demonstrate how to recover your OCS Front-End’s RTC database in the event of a disaster where your database or disk hosting the RTC database has become corrupted. Or maybe you’ve recovered a server’s installation and configuration, but now need to recover the user information. I’m going to do this in 3 different parts: backing up, destroying, recovering. To get started we need to have a semi-realistic OCS environment running so in this example I have a Standard Edition Front-End running where I’ve done the following:
- Added a few users to my contact list and changed the access levels around.
- Uploaded and approved the latest UCUpdates.cab package for phone devices.
- Added a MOC hotfix to the auto update feature.
- Created a couple of conferences with content in Live Meeting.
These items may seem a little random, but they’ve been done to illustrate what’s restorable from the RTC database and the file shares on a Front-End. I also have another machine called OR1DEVDPM01 running the beta of DPM 2010, which is what we’ll be using for the backup and restore.
Now that we have a machine running we first need to get this thing backed up before we trash it. You’ll want to create an exception on the OCS machine for the firewall to allow any traffic from the DPM machine. This will allow installation of the DPM agent, and allow backups and restores to occur.
Install the DPM Agent
- Open the DPM console.
- Click the Management tab at the top.
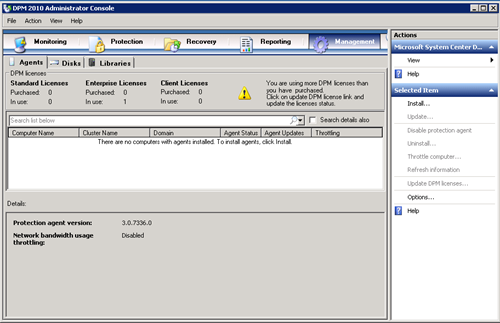
- Click the Agents tab below the main navigation line.
- Click Install in the action pane.
- Select Install agents and press Next.
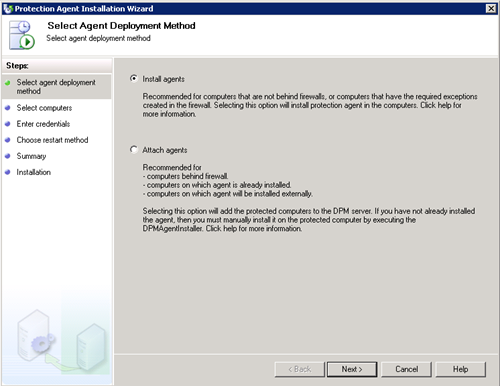
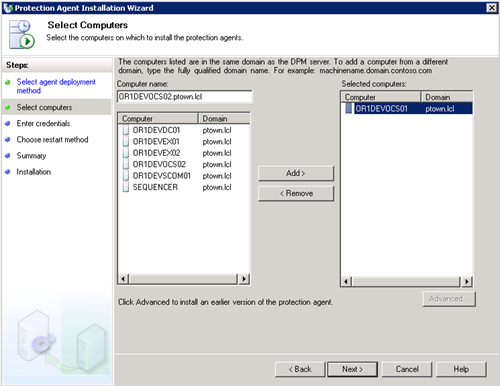
- Select the server you’re pushing the agent to (OR1DEVOCS01) and press the Add button. Then press Next.
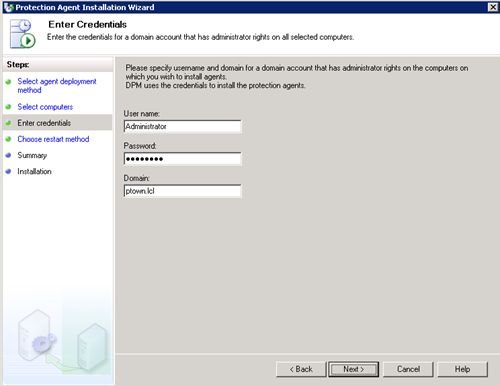
- Enter the credentials of an account with administrative rights on the server and press Next.
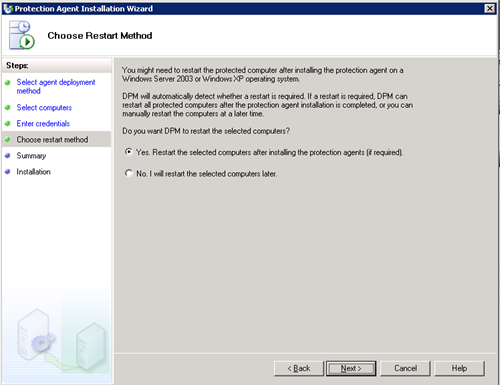
- Since this is a lab and I’m using Server 2008 I’m not too concerned the server restarting, but in production I’d advise opting for the manual restart.
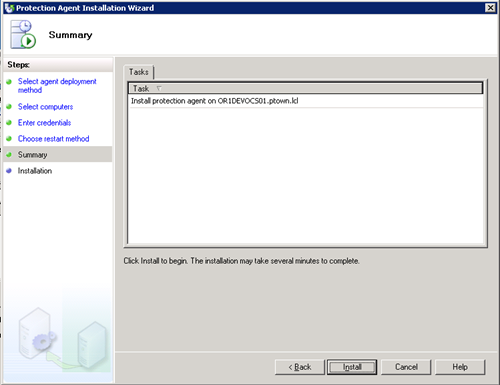
- Press Install and then you can click close while the agent deploys.
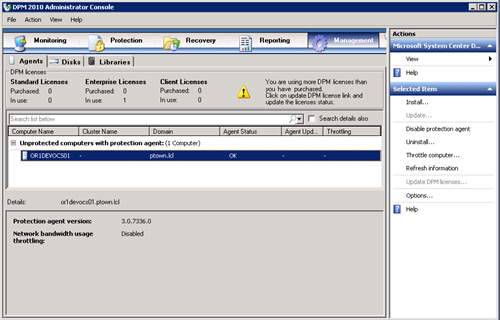
- After a minute or two the agent status should change to OK. Now we can start backing up the server.
Add the OCS Protection Group
- In the DPM console again click on the Protection tab.

- Click Create protection group in the action pane.
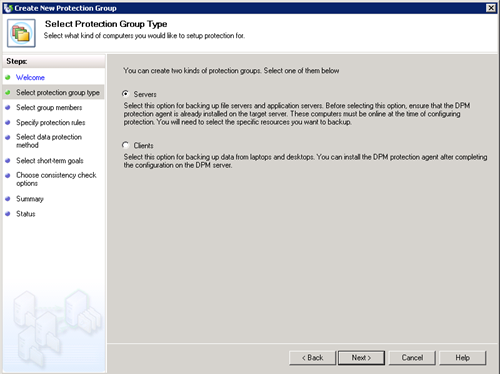
- Select Servers and press Next.
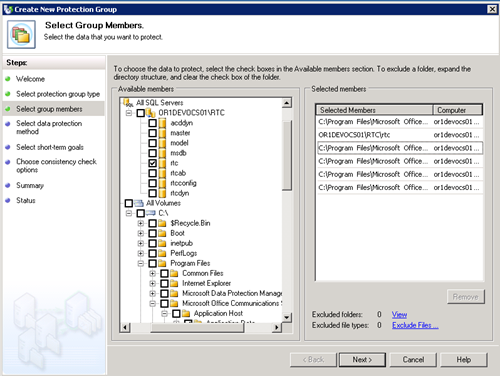
- Expand the OCS Front-End, OR1DEVOCS01 and you’ll see a few different nodes such as shares, SQL, volumes and system state.
The OCS Backup and Restore guide provides some guidance on what actually needs to be backed up from the server. These options pertain to a Standard Edition Front-End so be sure to check the document for any other role. Here are the items we need to select:
- All SQL Servers\
<\RTC\rtc<> - All volumes\<OCS Installation Volume>\<OCS Installation Folder>\Application Host\Application Data
- All volumes\<OCS Installation Volume>\<OCS Installation Folder>\Web Components\AutoUpdate
- All volumes\<OCS Installation Volume>\<OCS Installation Folder>\Web Components\Data MCU Web\Web
- All volumes\<OCS Installation Volume>\<OCS Installation Folder>\Web Components\Data MCU Web\Non-Web
- All volumes\<OCS Installation Volume>\<OCS Installation Folder>\Web Components\DeviceUpdateFiles
- All SQL Servers\
- You can press OK and ignore the warning that pops up about adding the system state backup. Press Next to continue after selecting all of the above options.
- Name the Protection Group something descriptive. I’m going out on a limb here, but I used OCS Front-Ends as the name. I don’t have any tape libraries hooked up, so I’ll just be opting for short-term protection to disk. Press Next.
-
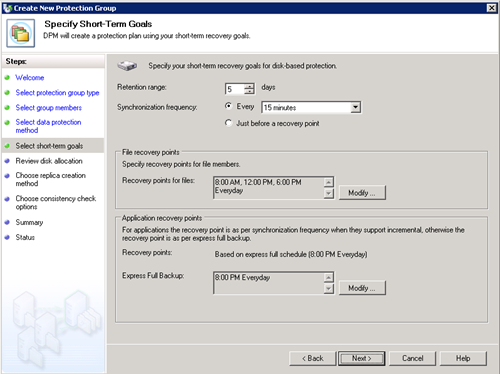
I imagine you’ll generally want more than 5 days of backups, but this works for the purpose here. 15 minute synchronizations are OK, but keep in mind OCS uses a simple recovery model in SQL meaning you take full backups and you restore full backups. None of this full, plus incremental and rolling logs forward fun. Just flat out restore of the entire DB and logs at once. The problem here is a simple database recovery model cannot leverage the synchronization feature of DPM like incremental backups can, so we’re limited to being able to restore only from a full backup, or an “Application recovery point” in DPM terms. You’ll see the default is to back up every day at 8 PM which may or may not be acceptable for you.
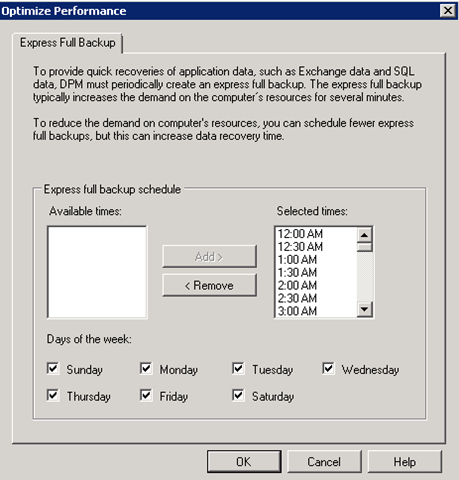
If you press the Modify button you can add in additional time slots to run an express full backup. Unfortunately (hoping this is a beta bug), you can’t select all the time slots and press Add. So just press Add quite a few times until each timeslot is added and you’ll have a recovery point every 30 minutes for your database. The trade off to running with this kind of frequency is the disk space used. Pick a schedule that’s appropriate for your deployment. Press OK to accept the schedule and then press Next to save the short-term goals.
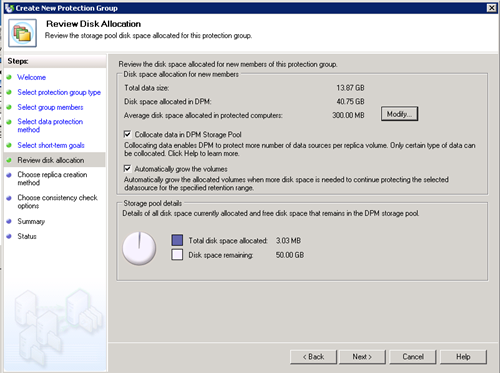
- On the next page you’ll see the disk allocation. Press Next to continue.
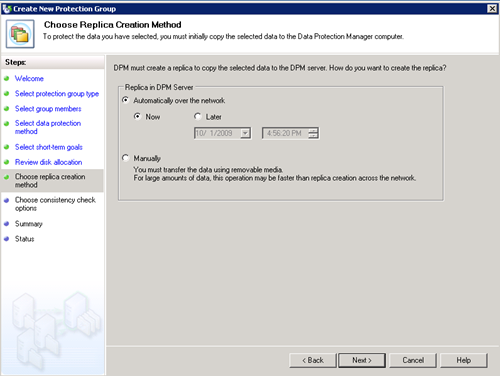
- Select when to create the replica of your data (now) and press Next.
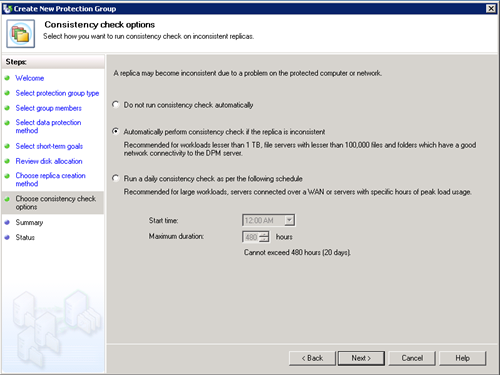
- Choose when to run consistency checks and press Next.
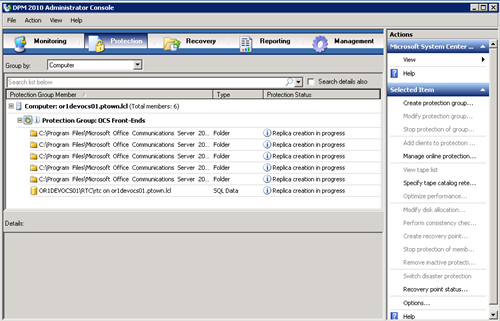
- On the last page you can review your selections and then press Create Group. The initial replica jobs will be created and then you can press Close.
- If you click the Monitoring tab you can view the jobs in process.
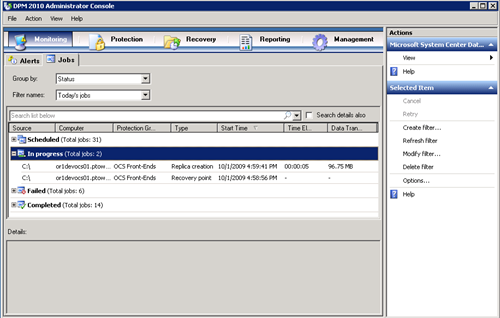
At this point we should have the backups running from the Front-End server. The next part of this will be destroying the data and blowing up the server. After that I’ll show how to recover everything we destroyed.
